DIY Wood Backdrop: My Fail and Success Story
November 10, 2016
Pinterest projects. Some are great and some are fails, right? I found several pins for a DIY wood backdrop, but somehow still managed to completely ruin it and had to throw them all out. It was quite sad. So… even though I didn’t intend on making my own post on this, I would really hate to see someone else fail like I did! Because I eventually did get it right!
So. Mistakes I made the first time around:Â
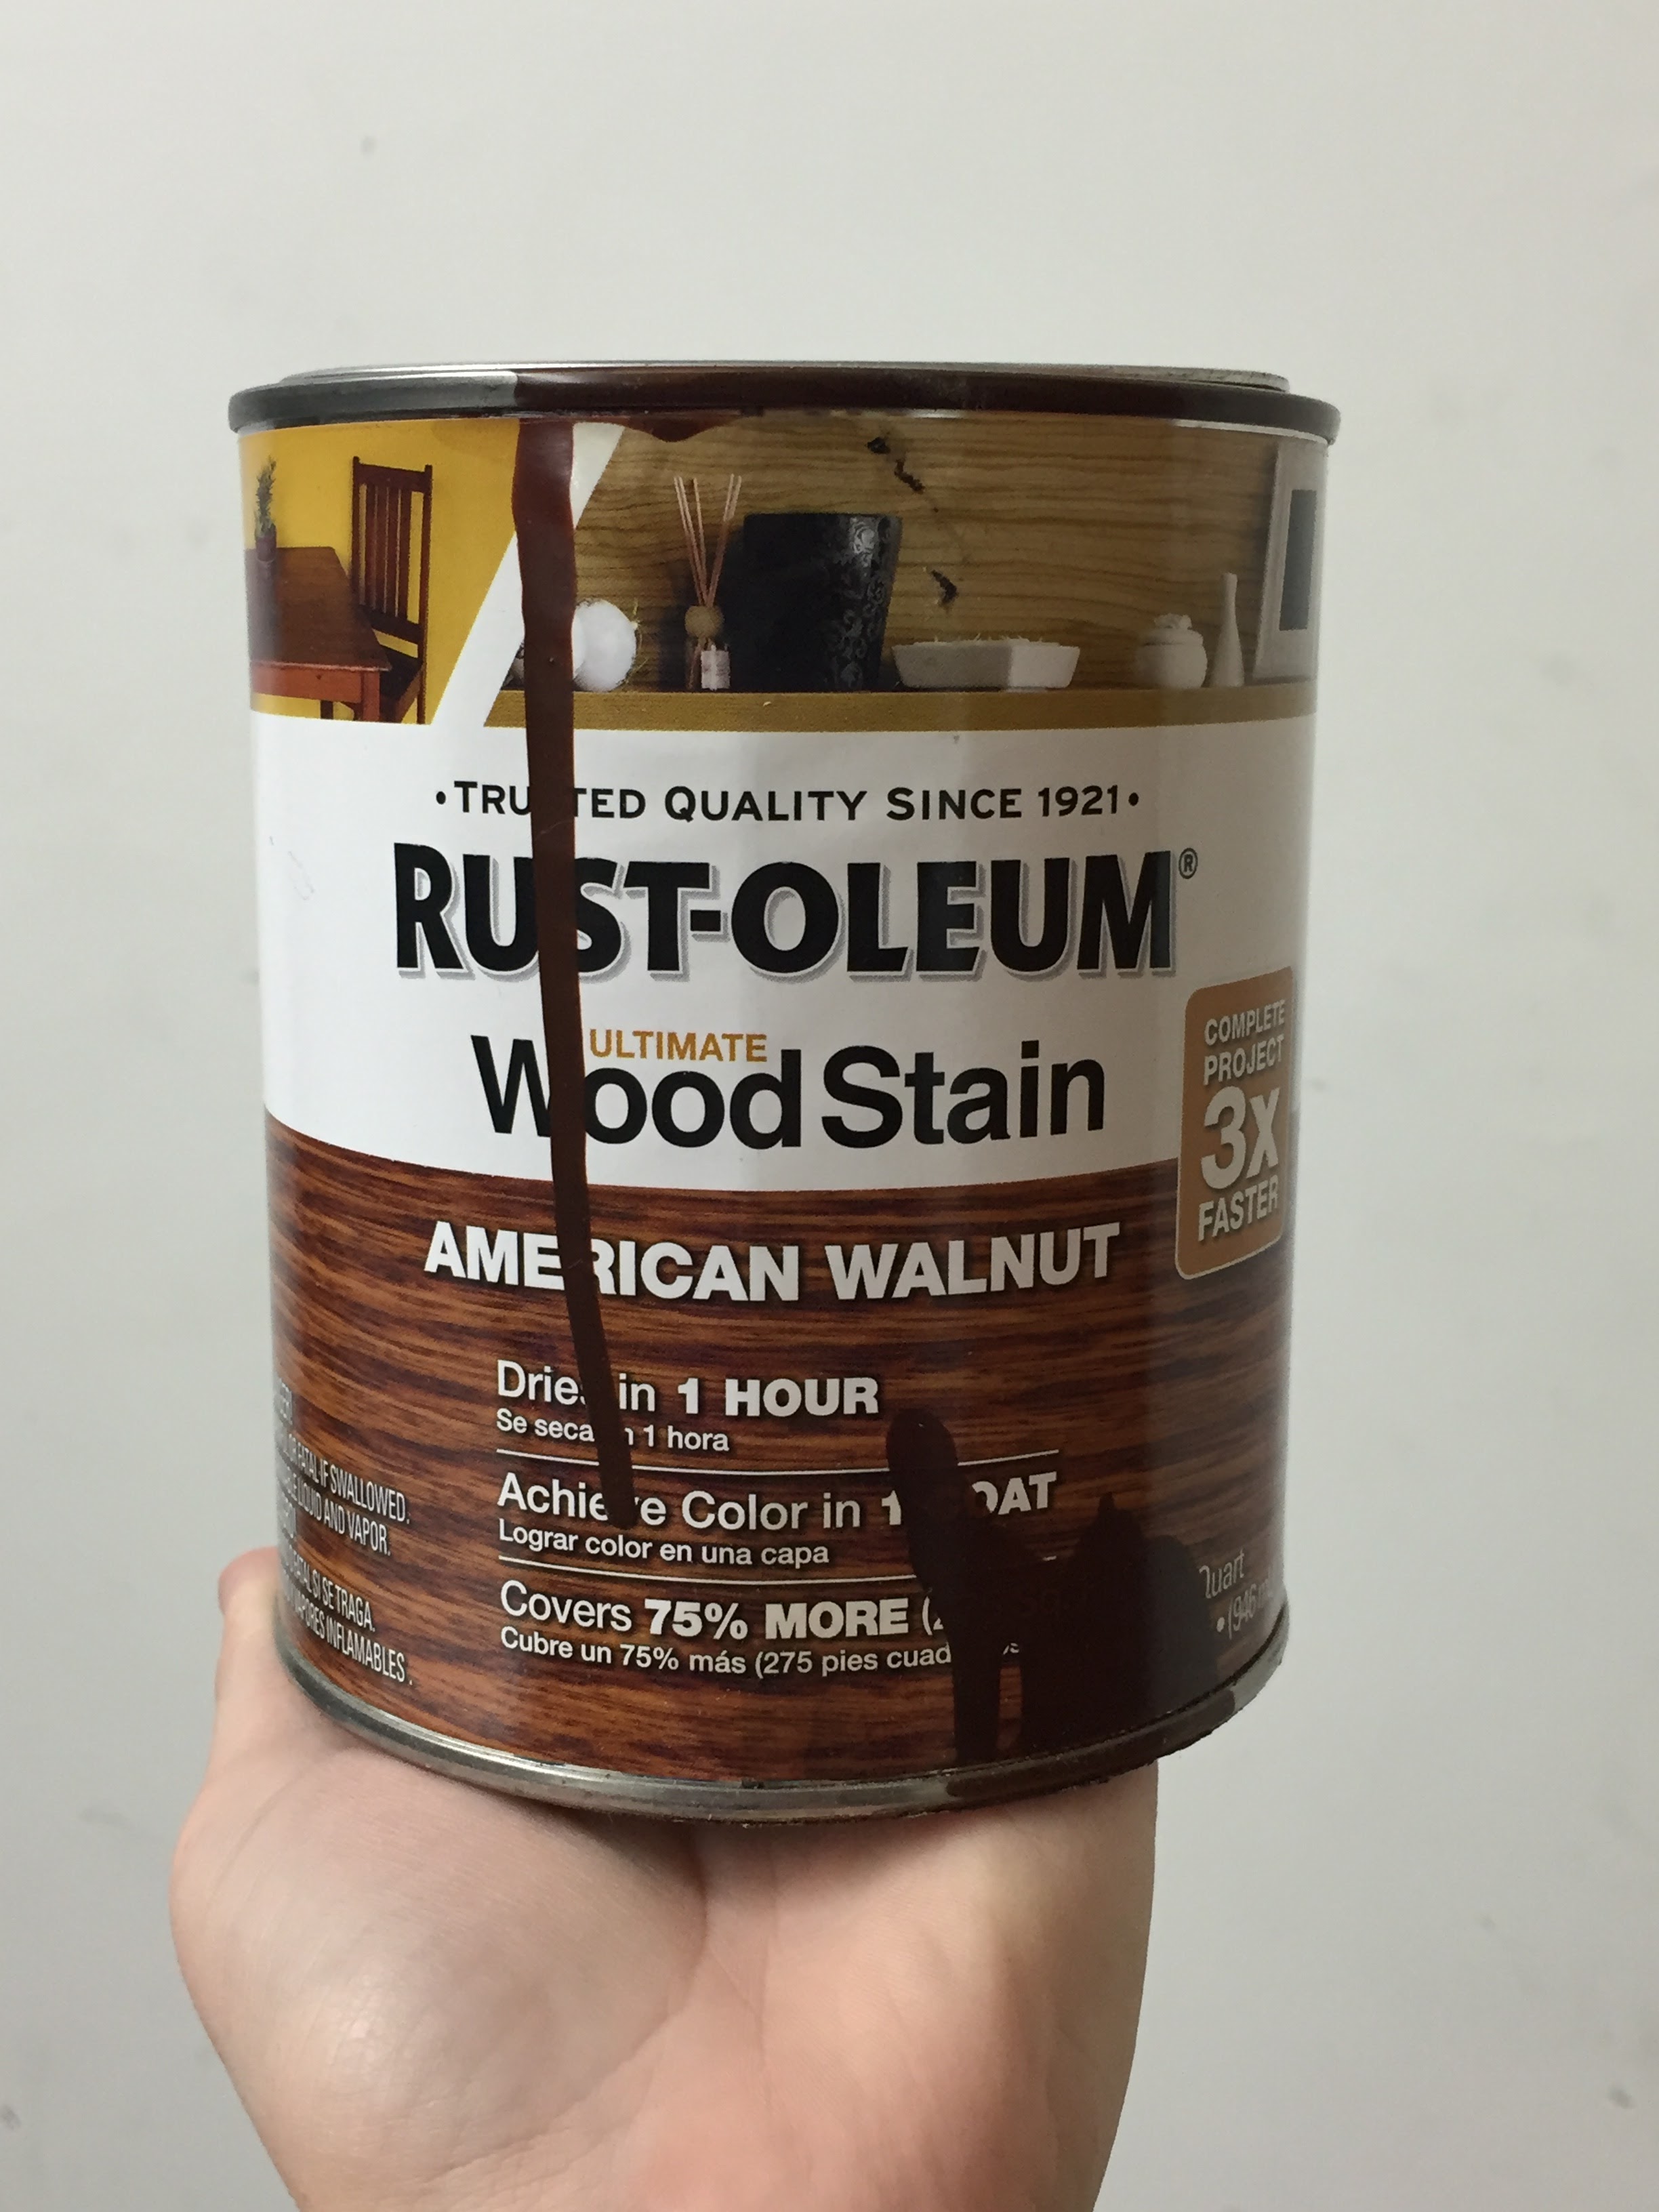
- I bought too dark of stain (Rust-oleum American Walnut)
- I used a large roller for the stain instead of a rag (or brush)
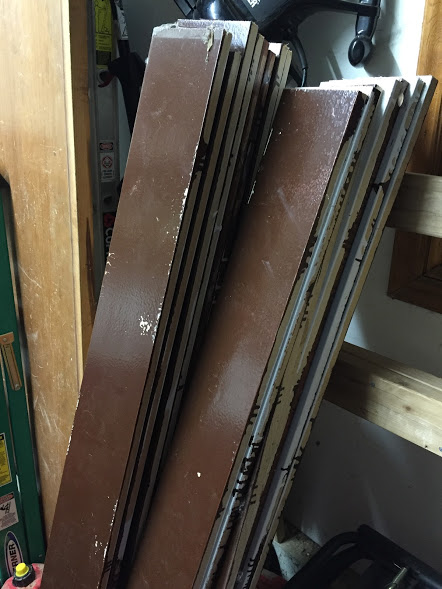
- I painted white too heavily on the back so it dripped onto the other side
- I did not wear gloves grrr
The NEXTÂ time around, I did things differently. Here’s what you’ll need:
- (22) 8 foot planks with a 2″ width– Lowes for $3 each. Make SURE to not get warped boards!
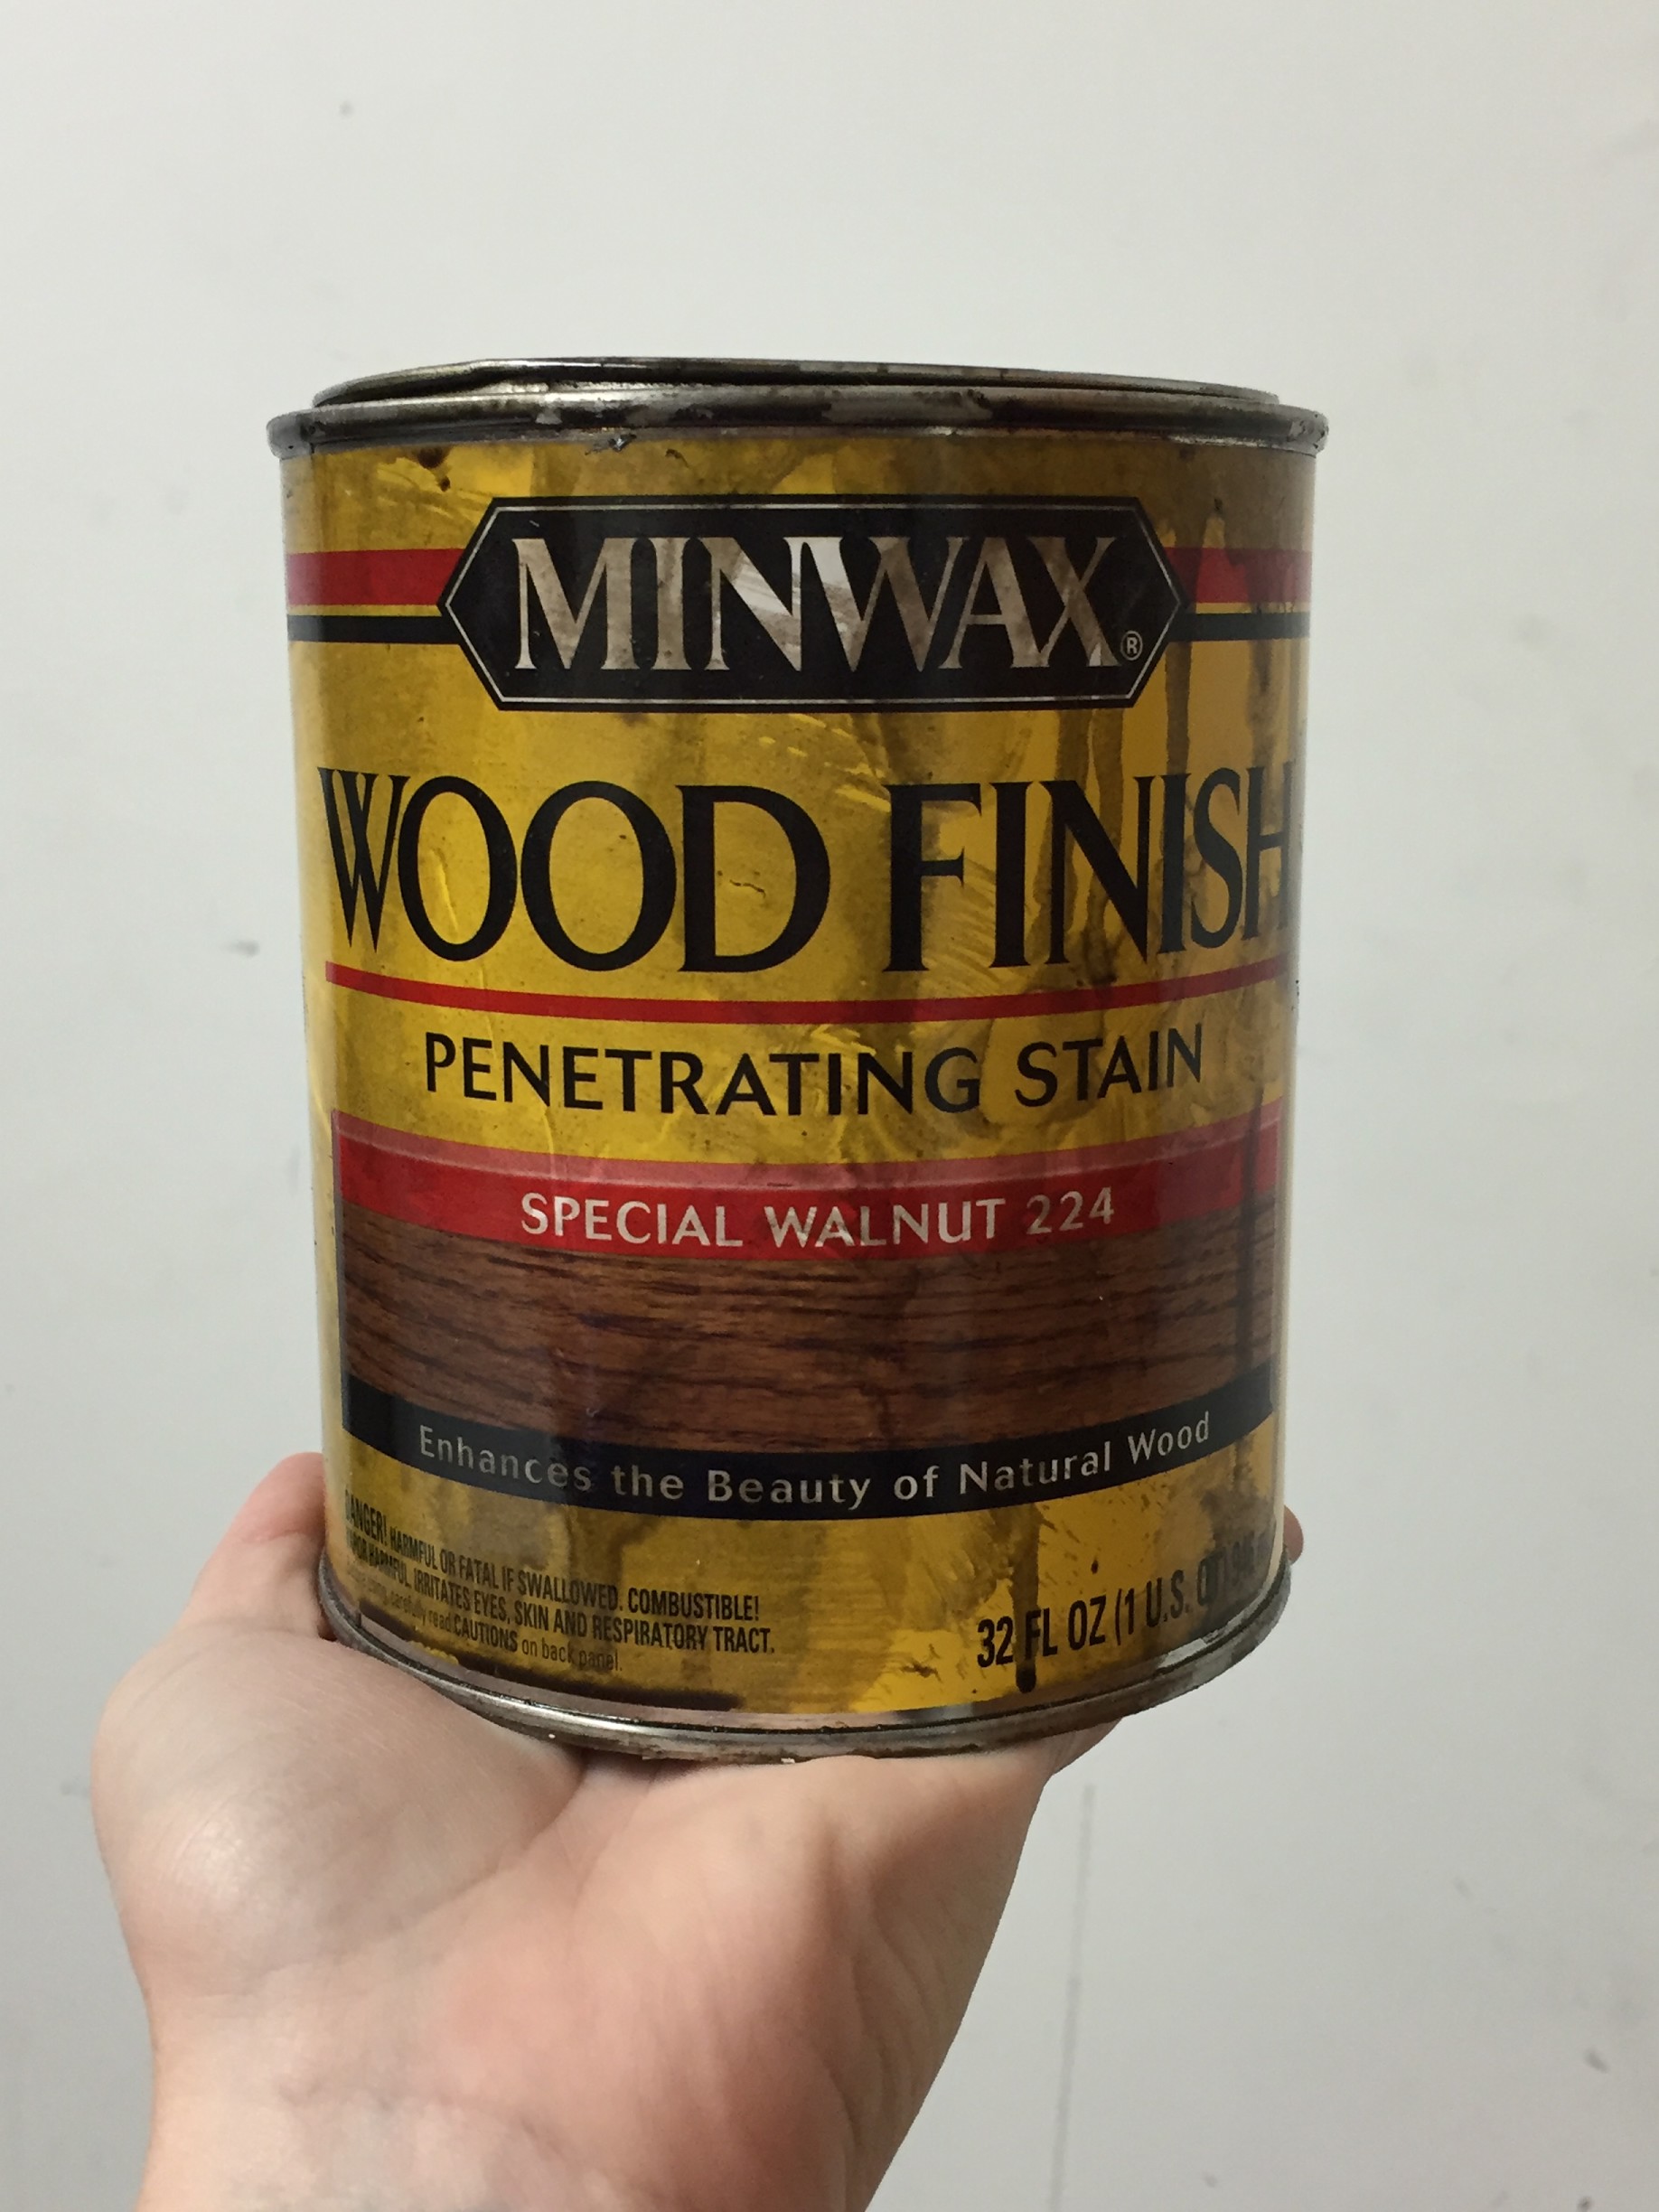
- Stain. I bought Minwax in Special Walnut 224- $8
- Paint if you want it to be double-sided (why not?!)Â I used Pebble Grey in Interior Flat from Walmart- $8 (Just so you know, white wash stain does not work for white)
- A rag for staining. I used a small old towel (or a brush would work)
- A paint roller and tray for other side’s paint (miniature ones are perfect!)
- A large tarp
- Two curtain hooks for mounting boards
- One spare board to mount the others
- Disposable gloves!
Ready to start!
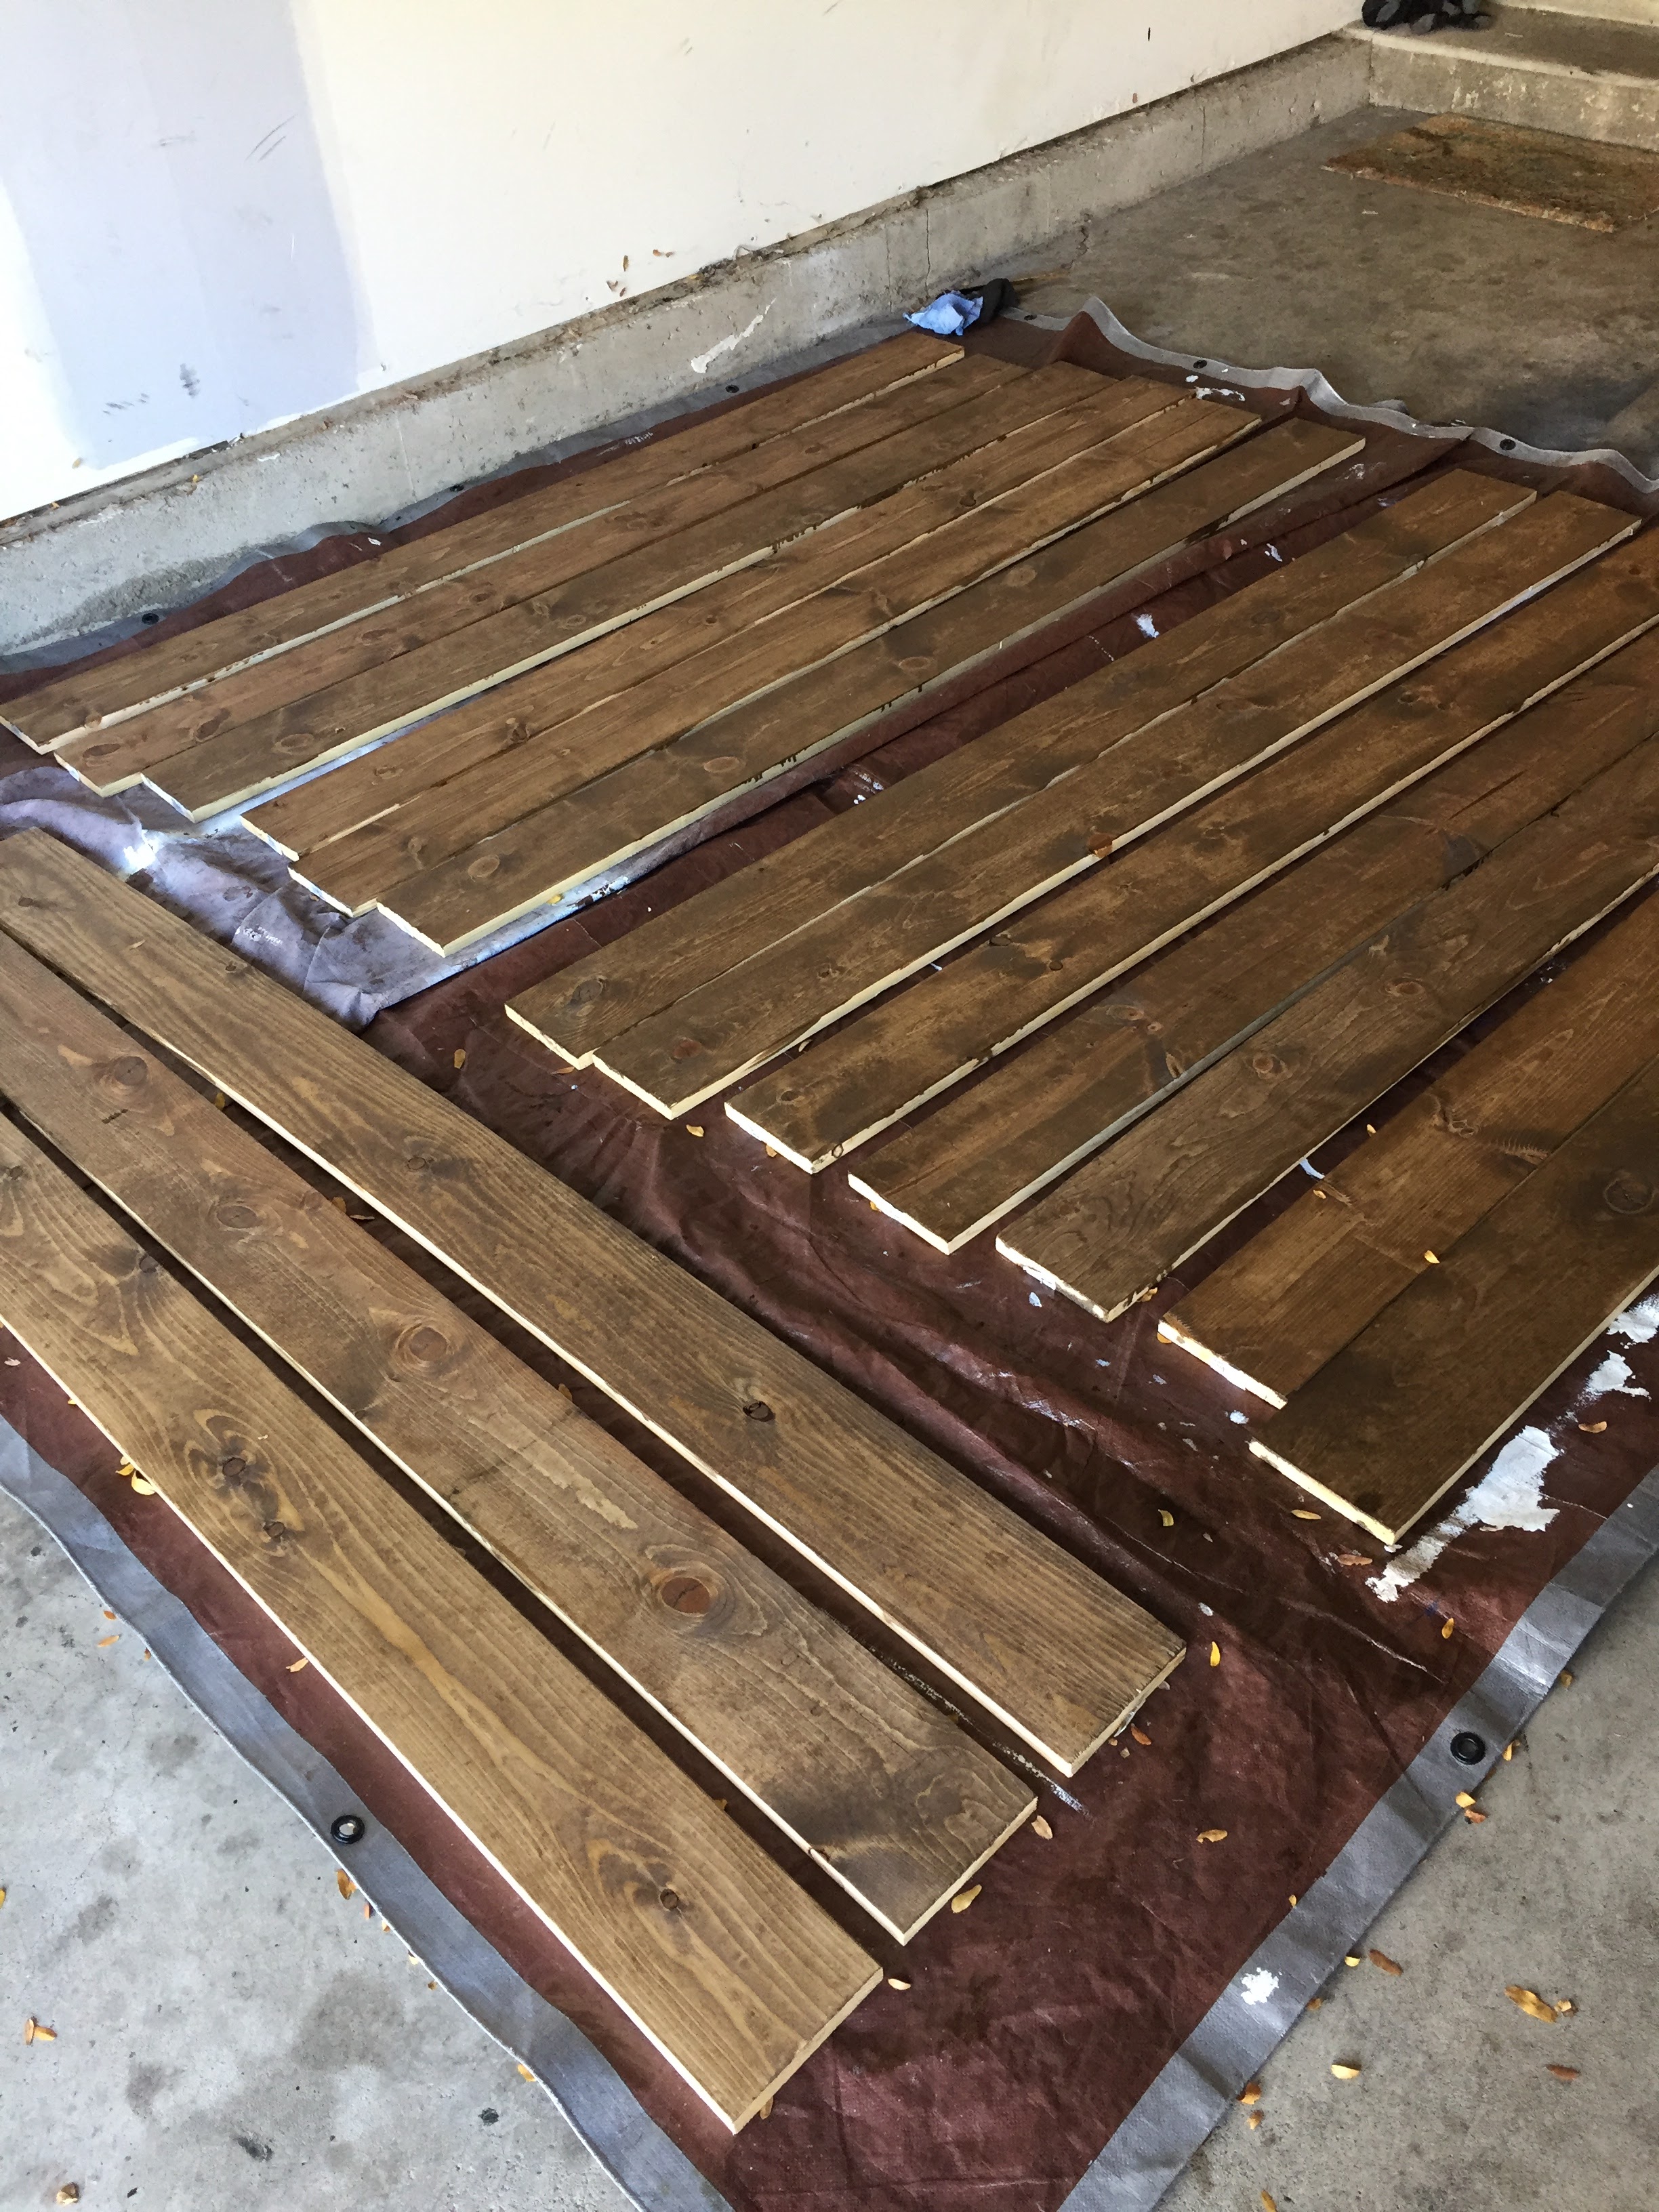
- Set up the tarp and line up all your boards on it.
- Wear grungy clothes and put those gloves on!
- Note– I did not think the boards needed sanded because they were pretty smooth already but some suggest it.
- I started with the stain. Use a rag to dip in the stain, then rub on liberally.
- Wait 2-3 hours to dry before second coat. Two coats was perfect.
- Once dry, flip the boards over and paint if you want another side. I did two coats of Pebble grey and made sure not to over-saturate the roller so it wouldn’t drip down this time.
- I allowed all the boards to air dry for at least three days before transporting them to my studio.
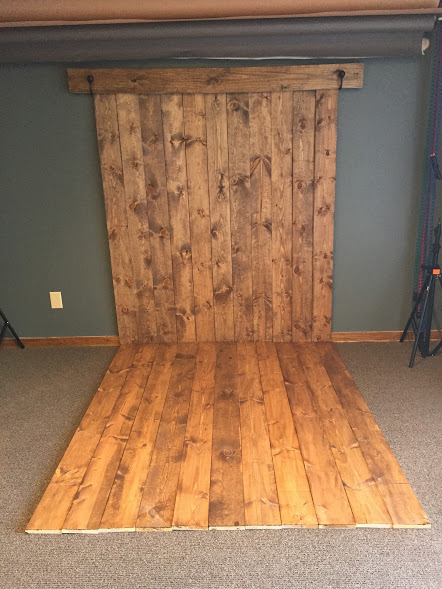
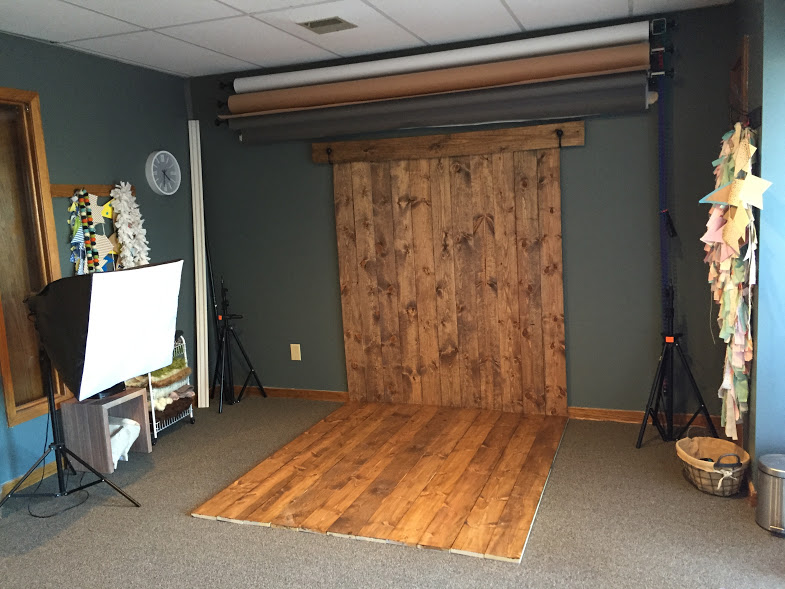
- Once in the studio, I lined them all up how I wanted on the floor (unattached) and for the wall section, we screwed in two curtain hooks that held a scrap board across, which supported all the stained boards (see pictures).
And there you have it! I am pretty pleased with it. Instead of spending over $100 on a vinyl wood backdrop, I spent $82 on a real wood backdrop that will provide a much better result. I really hope you learn from my mistakes and are successful in your project!
The BAD stain and the BAD result– it covered all the wood grain! Hello, that was kind of the point
The GOOD stain and the GOOD result!
Here is the finished product! (iPhone pictures- will update professional ones later)
Example photo taken with my daughter! (Again, iPhone, sorry)
